Map Tile Generator
Navigator comes with a built-in tool to take screenshots of your level ready for the maps. It’s super easy to use.
Usage
We need to take screenshots of your map. Drag in the map tile bounds blueprint. This actor will scale over the top of your map highlighting the bounds of your level.
Drag it out and place it above the level. Anything above this bounds will be excluded from the tile generation process.
You can adjust the size of the bounds by changing the map width.
You can also update the number of tiles. The more tiles, the higher quality images you will get when zooming in but the more memory it will take to view the map. Try to take as little as you can whilst achieving the quality you require.
Editor tool
To get started using the tile generator, head into your Narrative Navigation Plugins folder in your Content Drawer -> Assets -> MapTileGenerator.
You need to enable plugin content to view Narrative plugin content in your Content Browser. Open the Content Browser -> Settings -> Show Plugin Content.
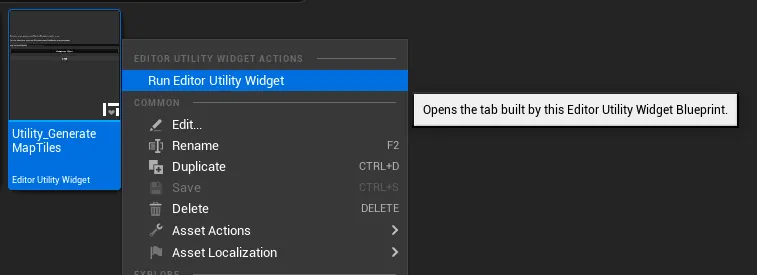
Right-click on the Utility_GenerateMapTiles and select Run Editor Utility Widget. This will start the editor utility running within Unreal.

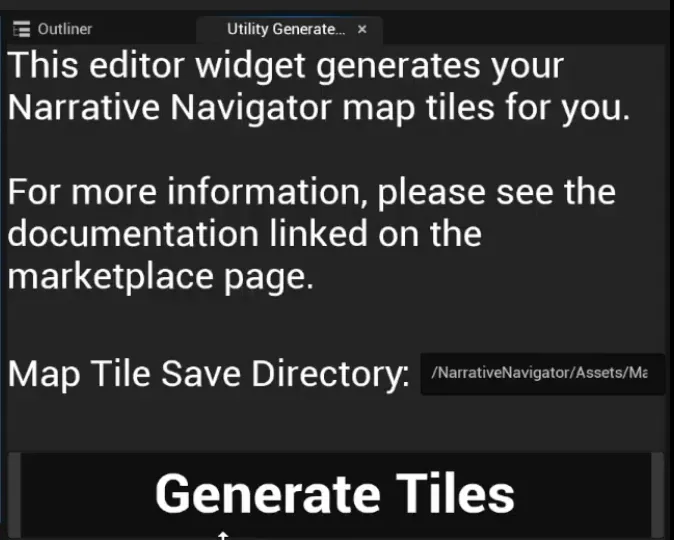
This tool is going to take many screenshots of your level in order to create the map. Whatever you keep visible on the map before clicking Generate Tiles will be visible on the screenshots.
You can use the hide button in the Outliner to hide anything you don’t want visible.
Finally, it's time to run the generator. Head over to the new panel that enables the editor script displayed and click the Generate Tiles button. This is normally pretty quick, but it varies depending on the size of your level.

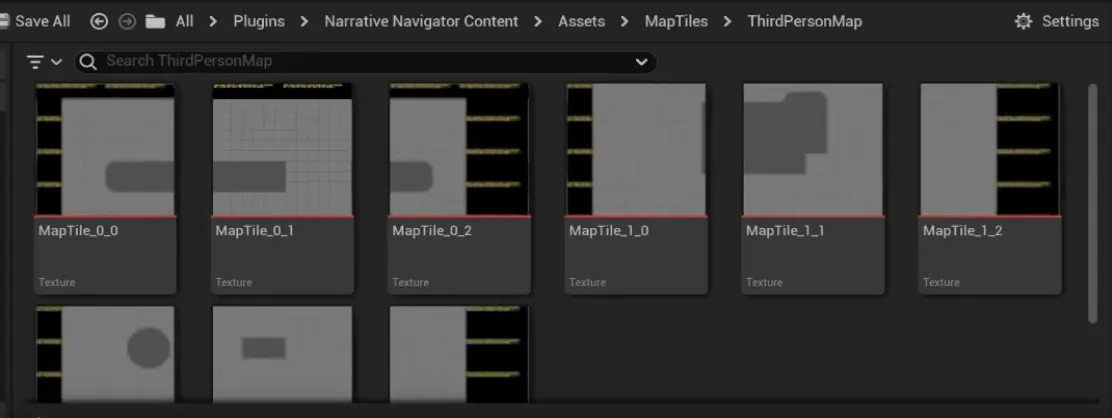
Once complete, you should have all the tiles placed within the plugins folder named after your level.

Now the maps in your game are ready and can be used.