UI
Narrative Navigator comes with several UI widgets to handle displaying the navigation info to the player. It can be added to your existing UI to keep it nice and clean.
Creating your HUD
To set up a simple HUD, open your Content Drawer, right click -> user interface -> Widget Blueprint and name this WBP_HUD.
If you already have an existing HUD, add the below widgets to that. It's much better for performance than having multiple HUD's rendering.
Open the HUD and add the widgets you require.
Navigator Widgets
Navigator comes with a series of widgets that you can use to customise your experience. These will be covered in more detail later in the docs.
Compass
This is the compass that sits normally at the top or bottom of the screen. Used as a replacement for a map by showing you what's in the direction you are facing.
Add the widget WBP_Navigator_Compass. Some good default details are:
| Name | Value |
|---|---|
| Anchors | 0.5, 0, 0.5, 0 |
| Position X | 0 |
| Position Y | 0 |
| Size X | 600 |
| Size Y | 60 |
| Alignment | 0.5, 0 |
Minimap
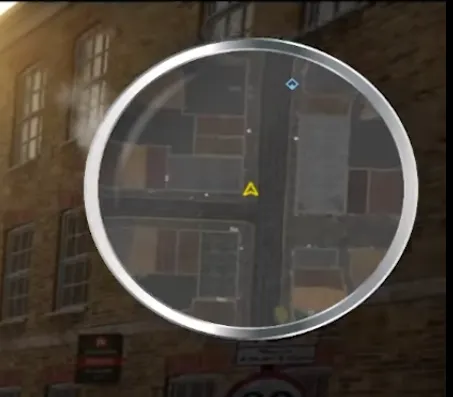
This is the minimap that sits in the corner and gives the player a map surrounding their location.

Add the widget WBP_Navigator_Map_Minimap. Some good default details are:
| Name | Value |
|---|---|
| Anchors | 1, 1, 1, 1 |
| Position X | 0 |
| Position Y | 0 |
| Size X | 250 |
| Size Y | 250 |
| Alignment | 1, 1 |
World map
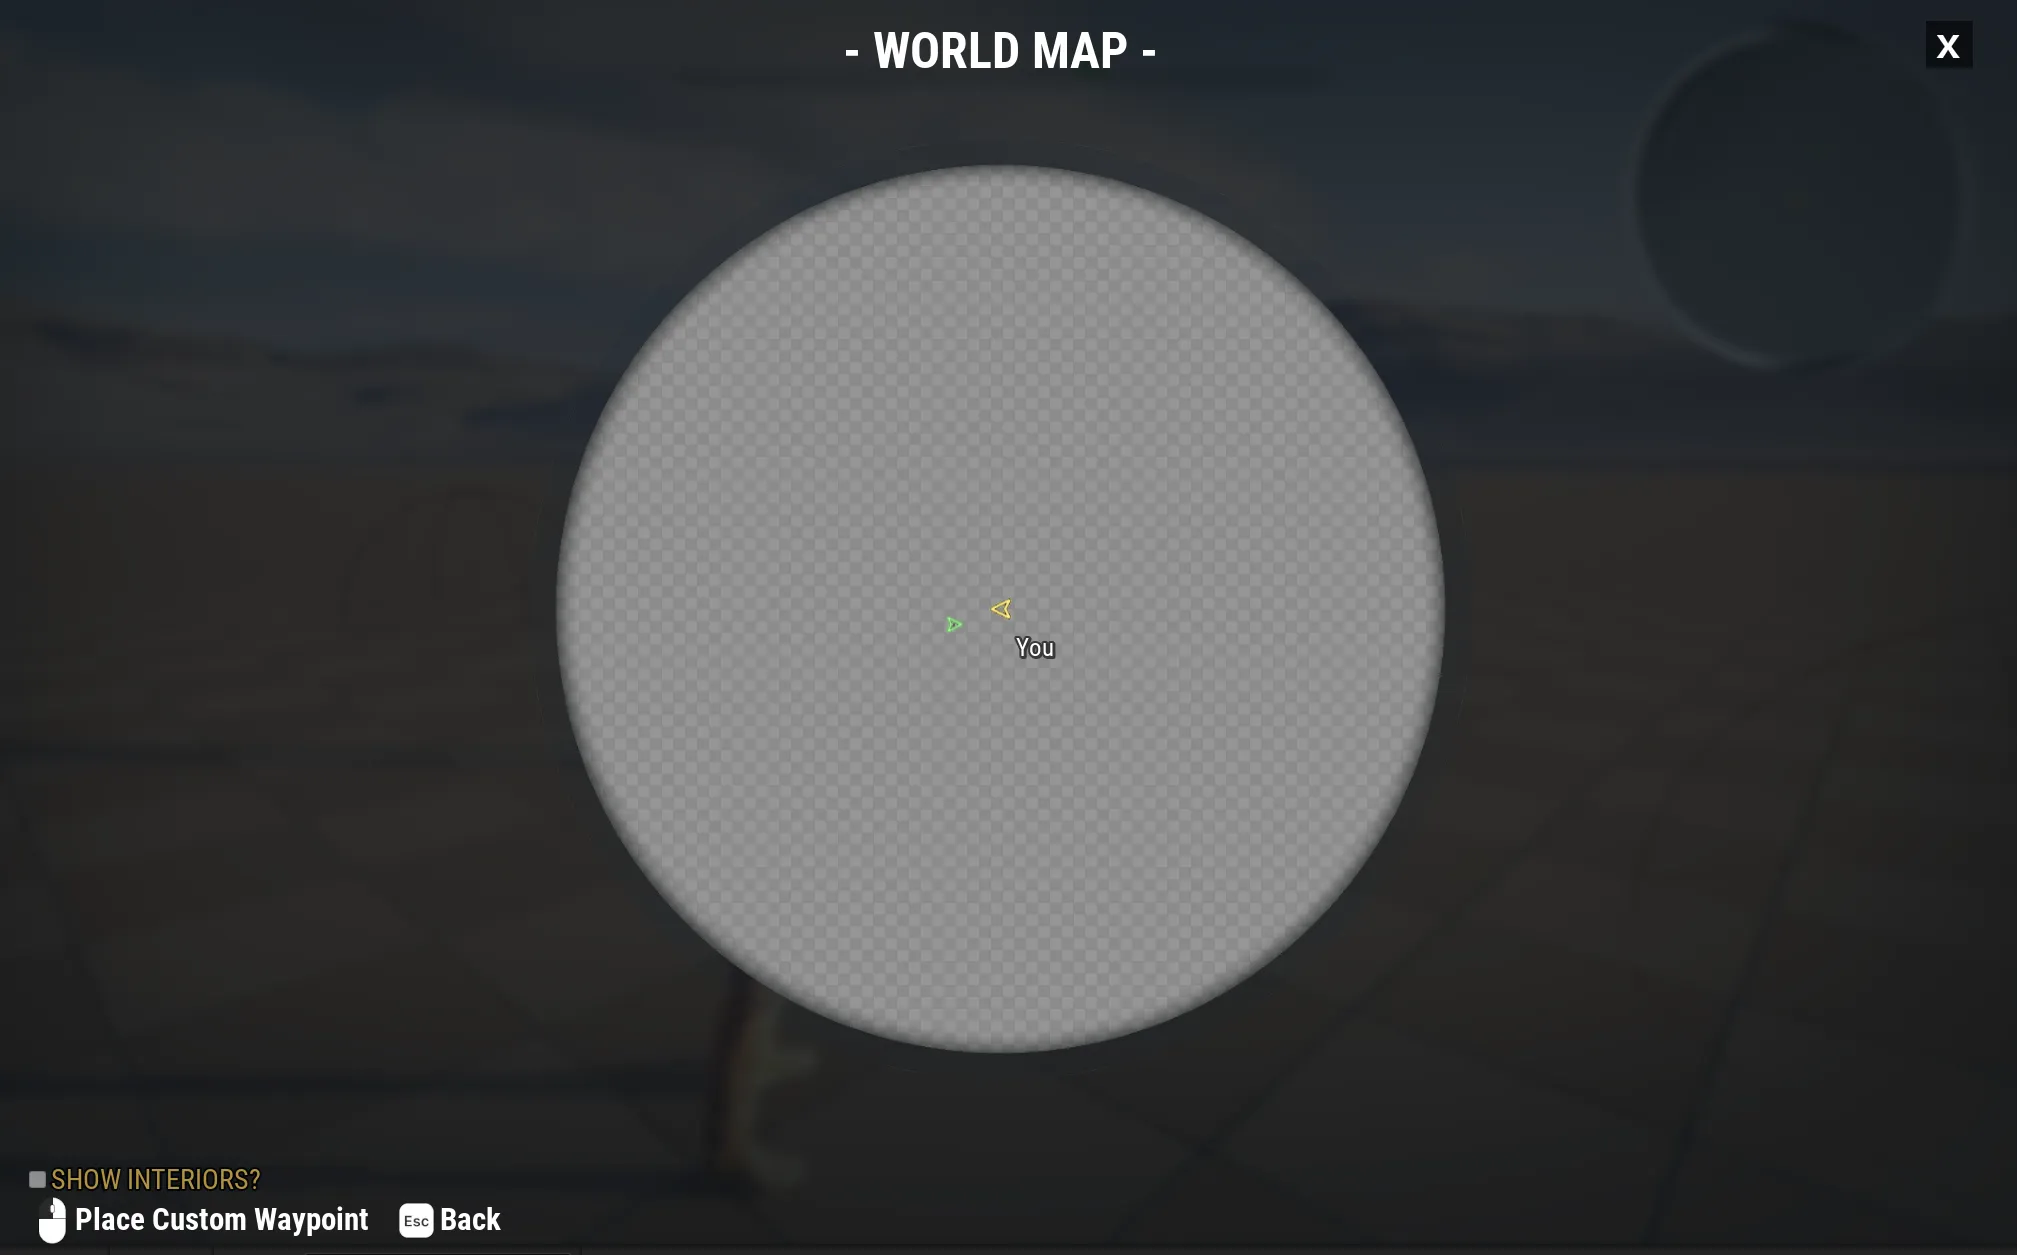
This is the world map widget that gives players access to view the entire map. It is not commonly added to the HUD but instead using the OpenMenu option via a key press instead.

You do not need to add this as a widget. We will open this via an event later.
Screen Space markers
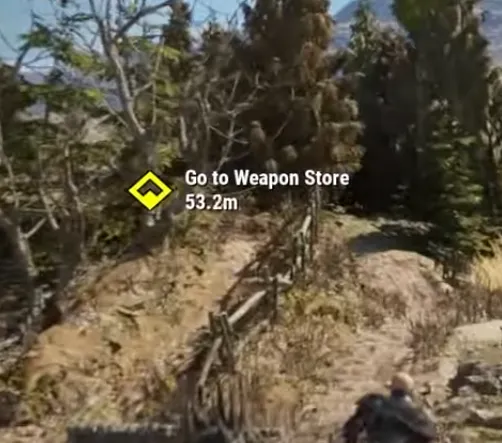
Screen space markers are the visible markers on screen in the player's viewport. They show in the 3d world.

Add the widget WBP_Navigator_ScreenSpaceMarkers. This needs to be set to full screen and lowest priority order (put it at the top of your Hierarchy list).
HUD display
Finally, go back into your Player Controller, and on begin play, create the widget, promote it to a variable then add it to the viewport.