Items
Creation
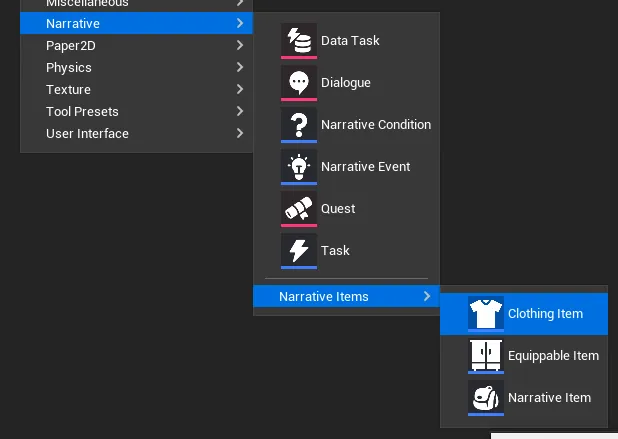
Right-click in the Content Drawer -> Narrative -> Narrative Items. It will contain some default items Narrative Inventory comes with.
You can also click New Blueprint, and select Narrative Item as the parent class.
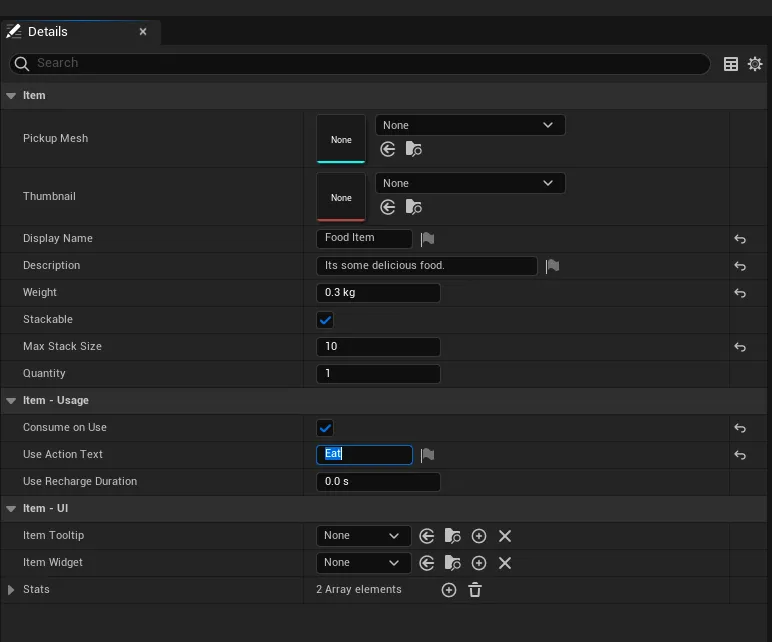
Let's say our game needs Food Items. We’ll name our item BP_Item_Food. This will serve as a parent class for any food items in our game. Open the BP_Item_Food up, and set some sensible defaults up.
Here we’ve configured our food item to have a default name, description, a weight of 300 grams, have a max stack size of 10, be stackable, consume the item when used, and have the Use action text be “Eat”.
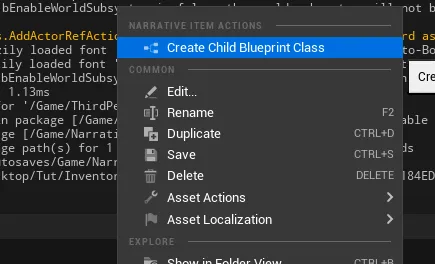
With our parent class made, let's add a couple of food items by right clicking our food item and making some child classes.
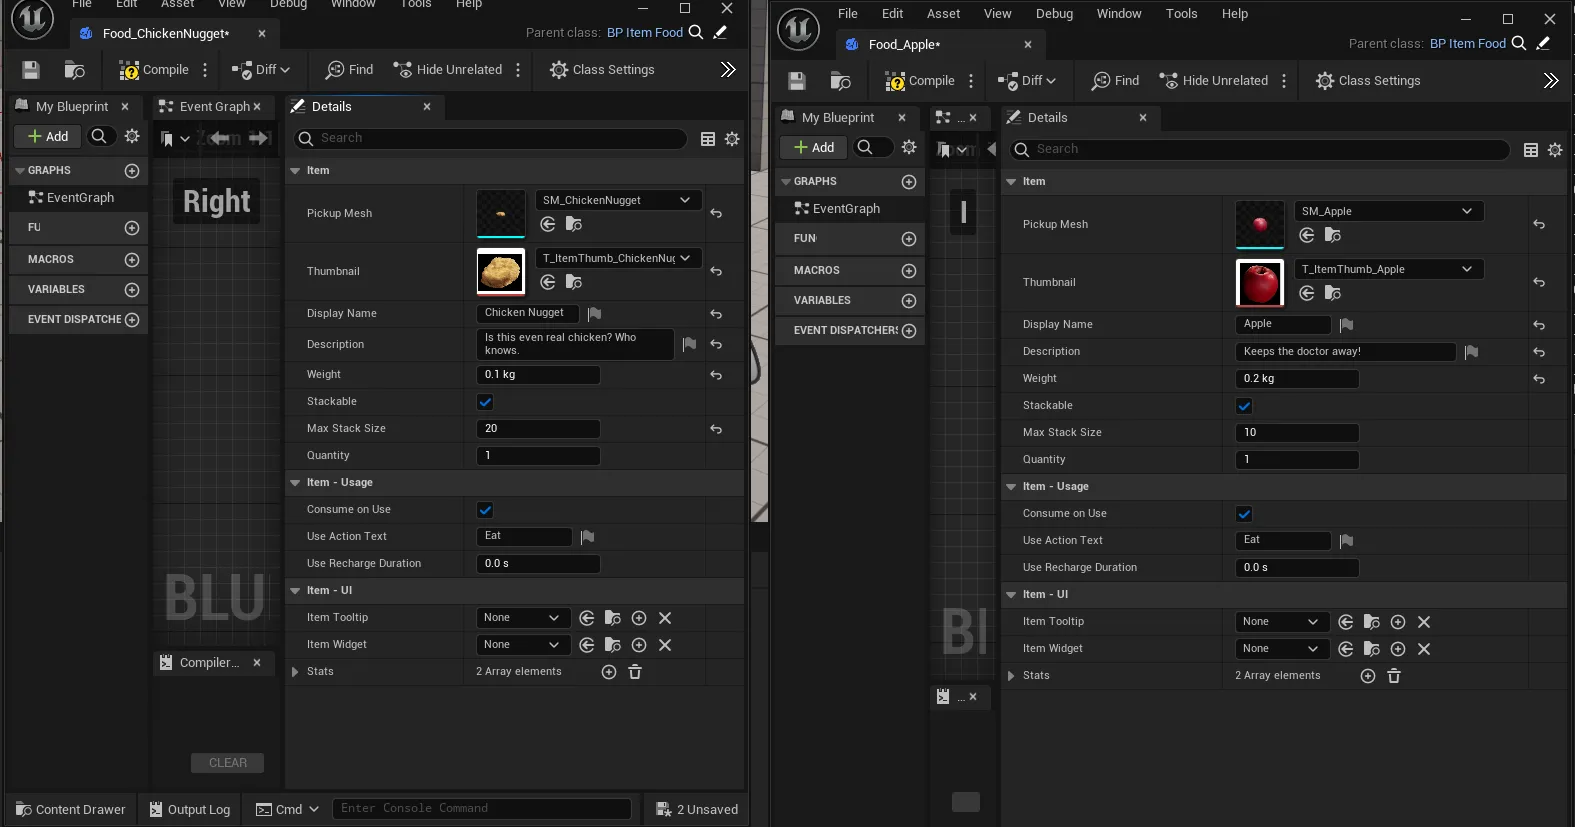
We’ve made two new food items, apple and chicken nugget:
Open up your Chicken Nugget and apple items, then set the properties to whatever you like. You can see here I've given each item a thumbnail and mesh.
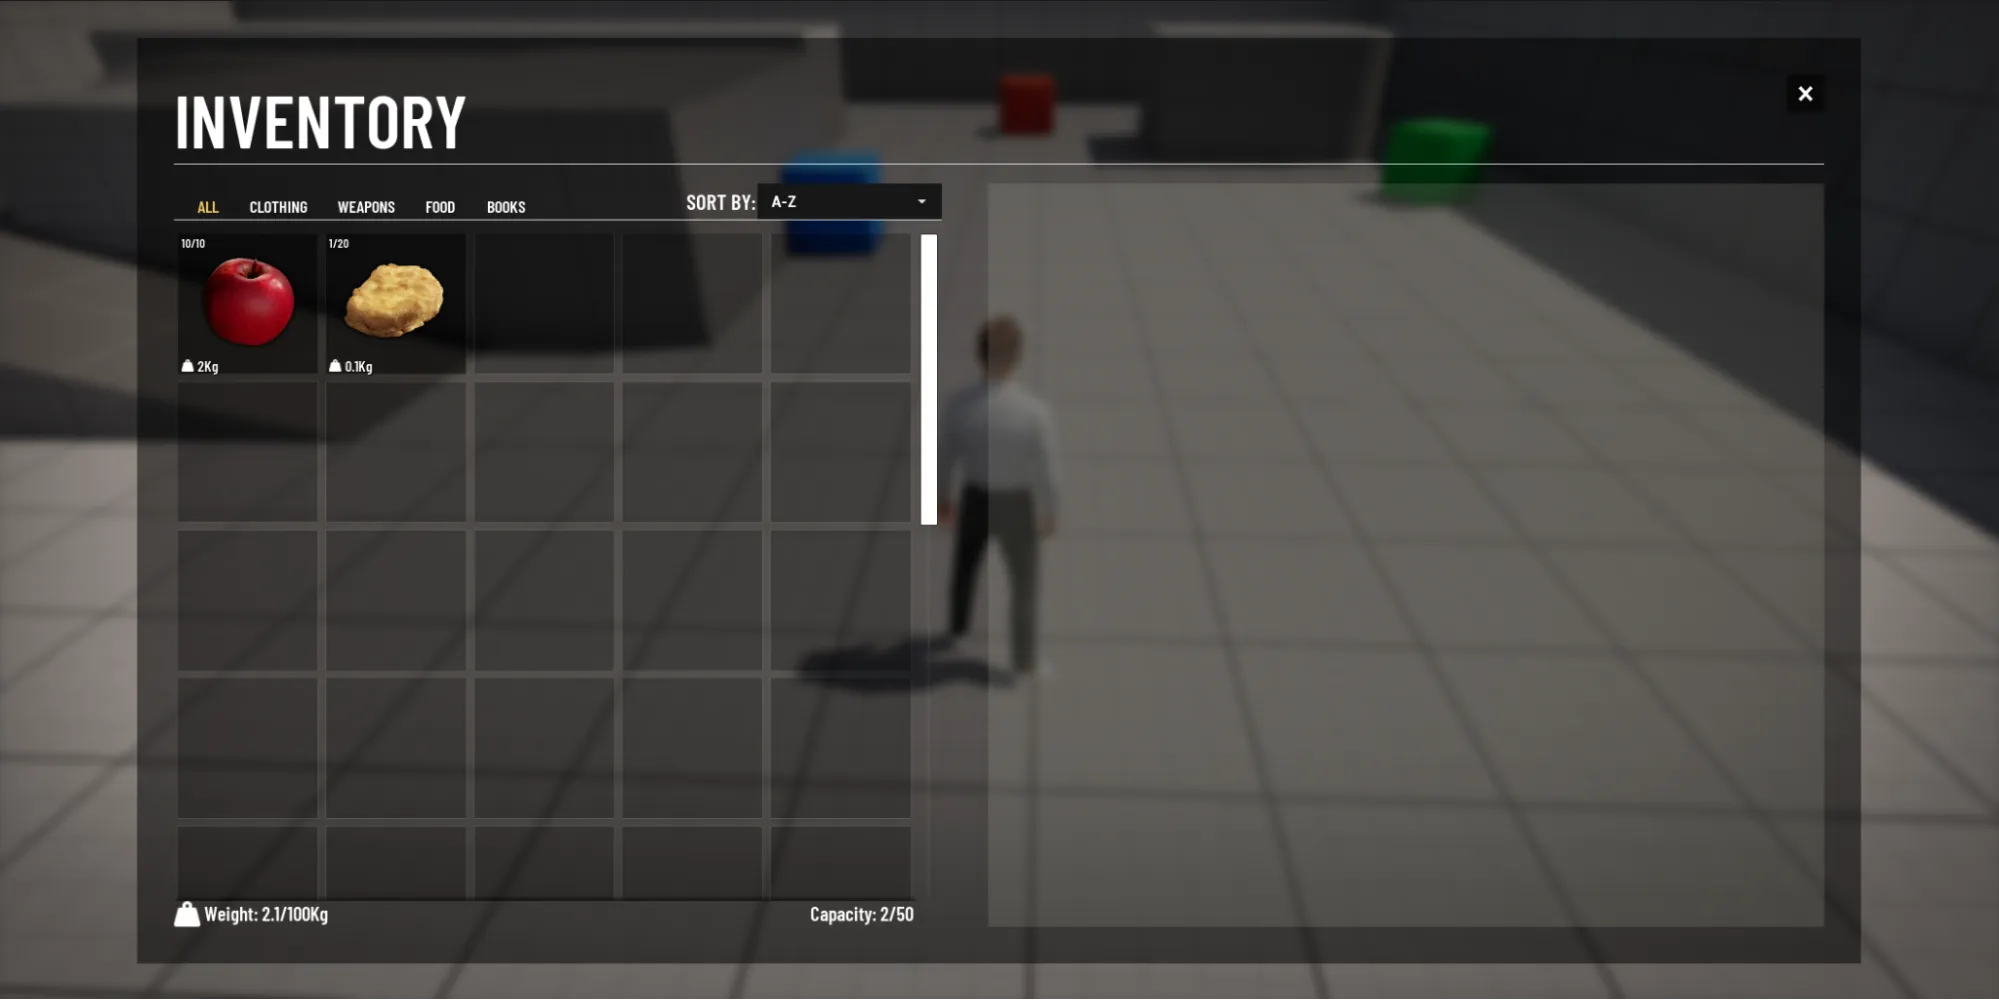
I've changed Chicken Nuggets max stack size to 20 to let you carry more and I've changed the weight properties.
Opening the game and pressing the key you set during setup will bring up the inventory. You can double click your food items to use them.
Properties
| Name | Type | Description |
|---|---|---|
| BaseValue | int32 | The value of the item, used by vendors. |
| bActive | bool | Return true if this item is active. |
| bCanActivate | bool | Check if the item can be activated. |
| bConsumeOnUse | bool | If true, 1 of this item will be consumed every time the item is used. |
| bFavourite | bool | Whether or not this item has been favourited. |
| bStackable | bool | Whether or not this item can be stacked. |
| bToggleActiveOnUse | bool | If checked, using this item will cause it to activate/deactivate. |
| Description | FText | An optional description for the item. |
| DisplayName | FText | The display name for this item in the inventory. |
| ItemTags | FGameplayTagContainer | Any gameplay tags we wish to give this item. |
| MaxStackSize | int32 | The maximum size that a stack of items can be. |
| PickupMesh | TSoftObjectPtr<UStaticMesh> | The mesh to display for this item's pickup. |
| Quantity | int32 | The amount of the item. |
| Thumbnail | TSoftObjectPtr<Texture2D> | The thumbnail for this item. |
| UseActionText | FText | The text for using the item (Equip, Eat, etc). |
| UseRechargeDuration | float | The amount of time you have to wait between uses of the item, 0 means no recharge delay. |
| World | class UWorld* | The world this item is in. |
Custom Item Stats
Narrative inventory lets you create custom stats for your items. This is really useful as it allows you to add any property you require to your items.
To store new values on your item, simply add a variable to your item and populate it with what data you require.
Exposing values to the UI
Not all custom stats will want to be visible on the Inventory UI.
To expose a variable to the UI, so it can be displayed in the stats section, in the class defaults of your item, populate the name of the item in the Stats array.
Now, override the GetStringVariable function and create a switch node from the Variable Name input property.
Add a new pin name called the same name as your Stats set above. From this new exec node, return the value you wish to show for this item when that property is found.
In this case, we have connected our new Health property into the return node.

Now any stat you create will be displayed in the UI if the switch returns the data for it.