Door Example
In this example we are going create a basic door.
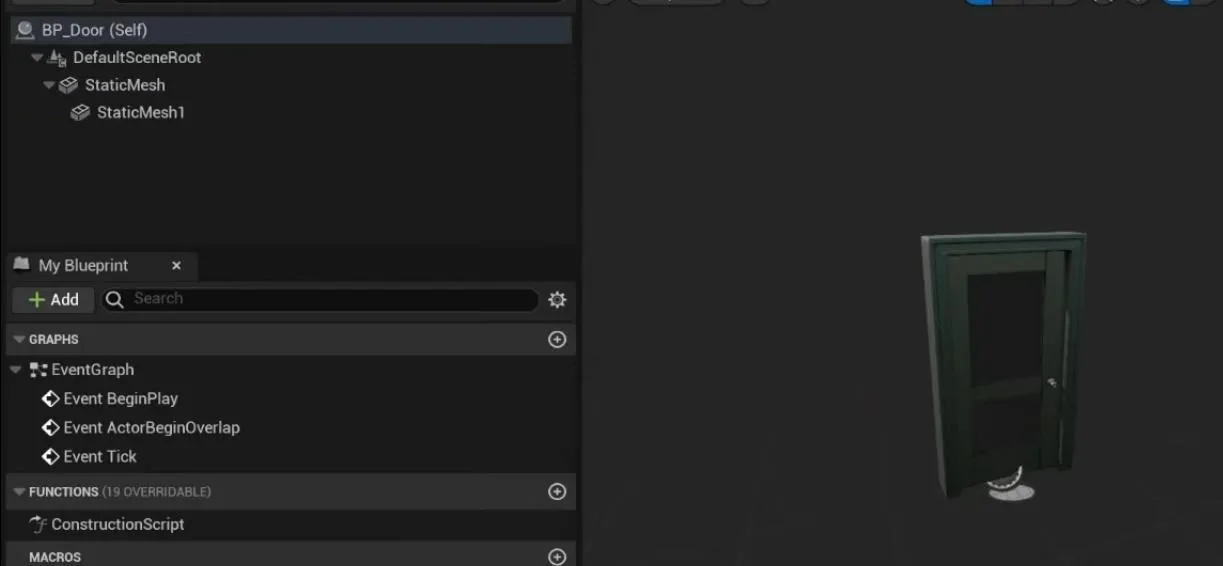
Right click in the Content Drawer -> Blueprint Class and call it:
BP_Door
Add a static mesh component and add a basic door frame, then another static mesh for the door.

Add a bool variable to determine whether its open or closed. We will call this one:
IsClosed
Add an event called OpenDoor then apply logic to transform the door. In this case, we'll use a simple Timeline to rotate the door to an open position.
You can also create a CloseDoor event then apply that to the ReverseFromEnd exec pin on the timeline.
When the timeline is finished, reverse the state of the bool using a NOT node.
Interactable blueprint
Now we can create an interactable. Right click in the Content Drawer -> Blueprint Class -> Narrative Interactable and call it:
Interactable_Door
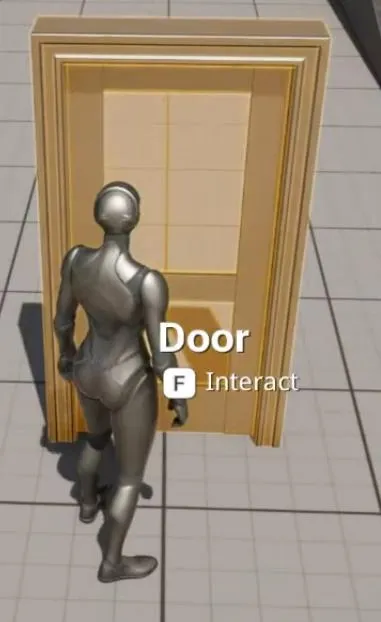
Click Class Defaults and enter some detail properties. In this case, we'll set the doors interaction text to Open.
Next, override the function On Interact. This is where you can tell your interactable what to do when interacted with.
Cast GetOwner to the door, then activate either the OpenDoor or ClosedDoor events depending on the IsClosed bool.
Now you can add this component to your door. When you interact with it, the door will open, interacting with again will close it.
This is a really basic example to demonstrate NarrativeInteraction. It's advised to use interfaces or inheritance based classes to make it much more generic.

Locked state
On the BP_Door we created above, Add a Unlocked property add default it to true.
If you can't set the default, make sure you compile first. You can only set defaults after you compile.
Now we can override CanInteract and get the doors locked state. Create a branch and if It's true, we can simply return true otherwise if its false, we can return the parent can interact function.
Button Unlock
Create a button blueprint class then add a variable of type BP_Door to link to the correct door.
Then add a Narrative interactable component and override the event On Interacted.
Get the door and then the doors interactable and set the unlocked property to true.

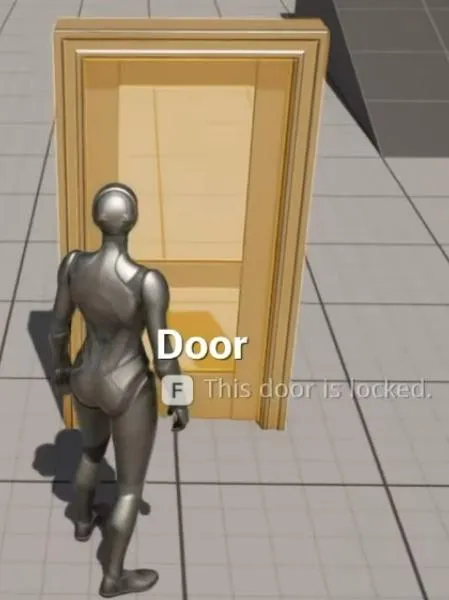
Now when you run up to the door, it will be locked by default.

But when you interact with the button.

The door will now be unlocked.

You will notice this time we didn't create an interactable for the button. All interactable functions are exposed for you to use inside an interactable or more specifically on a blueprint.
Multiplayer
Narrative Interactable is fully replicated right out of the box.
To set up the replication we will use the door example.
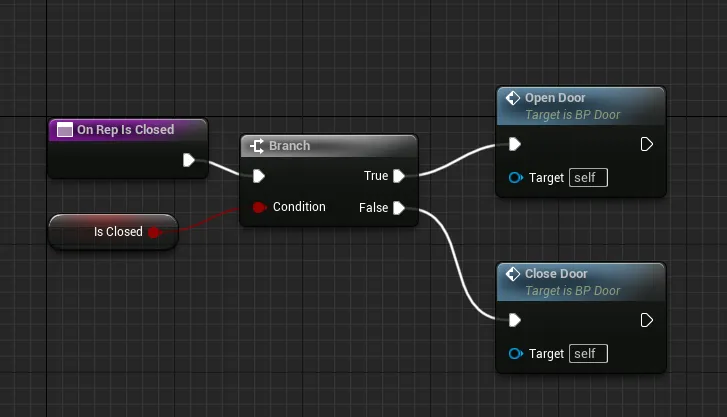
Firstly disconnect the Closed set variable and set the Replication to be RepNotify.
Override the OnRep_Open function and call your new OpenDoor event.

Finally, open the class defaults for the interactable actor and choose Replicates in the details panel.